Installing CAS rubycas on Ubuntu

Let’s just say that my Homelab usage has gone through the roof in the last few months. Not only am I writing bespoke applications to solve my day-to-day needs, I am continually adding to the tools at my disposal. For instance, I recently decided to not renew my Evernote subscription, after discovering how I could make Confluence bend to my needs.
Having worked with USF’s NetID authentication system (CAS), I got it in my head to implement CAS for my own bespoke applications. It really wasn’t the most straightforward of all installs. What follows is the knowledge distilled from nearly two days of head scratching, and gotchas.
We’ll use the Ruby server named – rubycas found https://github.com/rubycas/rubycas-server
Prerequisites
- Installed Ubuntu 16.04.4 LTS on a virtual machine
- 2 Processors
- 4 GB RAM
- 40 GD SSD/HDD space
- Ruby installed
- Rubygems installed
- LOT of patience.
Preparation
Install Ubuntu 16.04.4 LTS
Basically the process as outlined by the Confluence document.
- Ubuntu Admin
- Setting a static IP
- PHP FPM
- MySQL & PHPMyAdmin
- Add Web Development Group
Install Ruby and Ruby Gems
adapted from https://gorails.com/setup/ubuntu/16.04
curl -sL https://deb.nodesource.com/setup_8.x | sudo -E bash -
curl -sS https://dl.yarnpkg.com/debian/pubkey.gpg | sudo apt-key add -
echo "deb https://dl.yarnpkg.com/debian/ stable main" | sudo tee /etc/apt/sources.list.d/yarn.list

sudo apt update
sudo apt install git-core curl zlib1g-dev build-essential libssl-dev libreadline-dev libyaml-dev libsqlite3-dev sqlite3 libxml2-dev libxslt1-dev libcurl4-openssl-dev software-properties-common libffi-dev nodejs yarn
Using rbenv, the only version that actually works is 2.1.5.
git clone https://github.com/rbenv/rbenv.git ~/.rbenv
echo 'export PATH="$HOME/.rbenv/bin:$PATH"' >> ~/.bashrc
echo 'eval "$(rbenv init -)"' >> ~/.bashrc
exec $SHELL

git clone https://github.com/rbenv/ruby-build.git ~/.rbenv/plugins/ruby-build
echo 'export PATH="$HOME/.rbenv/plugins/ruby-build/bin:$PATH"' >> ~/.bashrc
exec $SHELL

rbenv install 2.1.5
rbenv global 2.1.5
ruby -v

gem install bundler
rbenv rehash
We will need the mysql2 adapter
sudo apt install mysql-server mysql-client libmysqlclient-dev
Create CAS Database in MySQL
mysql -u root -p
mysql> create database casserver;
mysql> \q
Also create a table in the casserver database called casserver_users
Installation
Time to install rubycas-server
Install rubycas
cd /var/www/html
git clone git://github.com/rubycas/rubycas-server.git
cd rubycas-server
cp config/config.example.yml config.yml
Edit config.yml
Edit the file and save.
server: webrick
port: 8888
#ssl_cert: /path/to/your/ssl.pem

database:
  adapter: mysql2
  database: casserver
  username: root
  password: <MYSQL PASSWORD>
  host: localhost
  reconnect: true

authenticator:
  class: CASServer::Authenticators::SQLEncrypted
  database:
    adapter: mysql2
    database: casserver
    username: root
    password: <YOUR MYSQL PASSWORD>
    host: localhost
  user_table: casserver_users
  username_column: username
  #password_column: password
  encrypt_function: 'user.password == Digest::SHA1.hexdigest("#{@password}")'

log:
  file: /var/log/casserver.log
  level: INFO

db_log:
  file: /var/log/casserver_db.log


maximum_unused_login_ticket_lifetime: 120
maximum_unused_service_ticket_lifetime: 120

maximum_session_lifetime: 14400
Now create the two log files.
sudo touch /var/log/casserver.log
sudo touch /var/log/casserver_db.log
sudo chmod 2777 /var/log/casserver.log
sudo chmod 2777 /var/log/casserver_db.log
Post Install
gem install mysql2
bundle update mysql2
gem install activerecord-mysql2-adapter
gem install rack-test -v=0.7.0

gem install rubygems-update
update_rubygems
Edit Gemfile
source "http://rubygems.org"
gemspec

gem 'mysql2', '~> 0.3.11'

# Gems for authenticators
group :ldap do
    gem "net-ldap", "~> 0.1.1"
end

group :active_resource do
  gem "activeresource", ">= 2.3.12", "< 4.0"
end
Edit /var/www/html/rubycas-server/db/migrate/001_create_initial_structure.rb, add this to the top.
class ActiveRecord::ConnectionAdapters::Mysql2Adapter
  NATIVE_DATABASE_TYPES[:primary_key] = "int(11) auto_increment PRIMARY KEY"
end
If Gemfile.lock is not there already, use the one attached to this document.
bundle install
And start
bundle exec rubycas-server -c config.yml
Apache Passenger
This has been adapted from a from a variety of sources. The intent behind this is to have Apache run the rubycas application natively. This eliminates the need to use the start command above.
Install Passenger (free)
This has been adapted from here
sudo apt update
sudo apt install -y curl gnupg build-essential
sudo apt install -y dirmngr gnupg
sudo apt-key adv --keyserver hkp://keyserver.ubuntu.com:80 --recv-keys 561F9B9CAC40B2F7
sudo apt install -y apt-transport-https ca-certificates


sudo apt install apache2-dev


sudo sh -c 'echo deb https://oss-binaries.phusionpassenger.com/apt/passenger xenial main > /etc/apt/sources.list.d/passenger.list'
sudo apt update
sudo apt install -y libapache2-mod-passenger
sudo a2enmod passenger
sudo service apache2 restart
Check if Passenger is working fine.
sudo /usr/bin/passenger-config validate-install
This should be the output
What would you like to validate?
Use <space> to select.
If the menu doesn't display correctly, press '!'

   ⬢  Passenger itself
 ‣ ⬢  Apache

-------------------------------------------------------------------------

Checking whether there are multiple Apache installations...
Only a single installation detected. This is good.

-------------------------------------------------------------------------

 * Checking whether this Passenger install is in PATH... ✓
 * Checking whether there are no other Passenger installations... ✓
 * Checking whether Apache is installed... ✓
 * Checking whether the Passenger module is correctly configured in Apache... ✓

Everything looks good. :-)
Now to find the Passenger path.
passenger-config about ruby-command
The thing to note is “command” on line 2. The path should be noted.
Configure vhost
Now we have to make sure Apache can execute ruby applications. Edit the vhost file.
sudo vi /etc/apache2/sites-available/000-default.conf
<VirtualHost *:80>
        ServerName webauth.sodhis.net
        ServerAdmin webmaster@localhost
        DocumentRoot /var/www/html/rubycas-server/public


 PassengerRuby <PATH FROM ABOVE>

 <Directory "/var/www/html/rubycas-server/public">
     AllowOverride all
     Allow from all
   </Directory>

 <Directory /usr/lib/cgi-bin>
   Require all granted
 </Directory>

 <IfModule mod_fastcgi.c>
     AddHandler php7-fcgi .php
     Action php7-fcgi /php7-fcgi virtual
     Alias /php7-fcgi /usr/lib/cgi-bin/php7-fcgi
     FastCgiExternalServer /usr/lib/cgi-bin/php7-fcgi -socket /var/run/php/php7.0-fpm.sock -idle-timeout 1800 -pass-header Authorization
 </IfModule>

        ErrorLog ${APACHE_LOG_DIR}/error.log
        CustomLog ${APACHE_LOG_DIR}/access.log combined
</VirtualHost>
sudo service apache2 restart
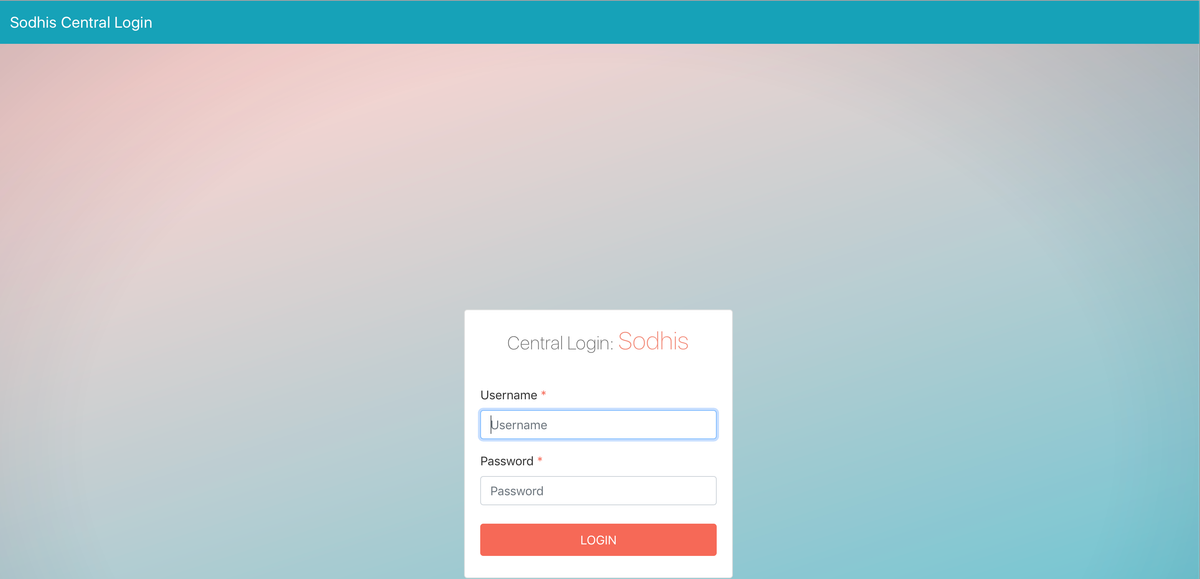
Lo and behold if all went well, go to http://<YOUR URL>/login and you should be golden.
Proof being in the pudding, here’s mine :)
